
The legendary Rolleiflex TLR, here in version E. Still very much a capable camera today, even though well over 60 years has passed since this box of metal and glass went out of the Francke & Heidecke factory in Germany.
I know, I know... Another way too long and tedious post.
I am, as you very well know by now, not much of a camera tester or by any means any good when it comes to writing very wise and accurate stuff about any camera I got, but sometimes I write a few words on things like this anyway.
And when I do, it's hopefully a more practical view of what the camera is like in daily use, rather than explaining all the bits and pieces, the bells and whistles. Not that there usually is a lot of that stuff on any of my cameras when I start thinking about it. This post is probably a bit more "into the deeps" than usual, but mostly due to the built-in light meter. There would also probably be way too many more or less "instructive" digital photos in this post as well, but you may skip them if you like. A few and maybe even more interesting snaps taken with the actual camera is mixed in between it all.
Just a few words on the B&W pictures:
These were all shot, developed and processed to the digital version on board the ship I work just a couple of days ago, and only made for the purpose of this blog post. All were done on a roll of Ilford FP4 film within a time frame of about half an hour during a quick walk around the upper and front parts of the vessel. The film was developed in Fomadon Excel 1:1 solution just before dinner, then hang to dry for a couple of hours in the drying room (aka the switchboard room) before it was "scanned" on top of our brand new (made while the film was drying) makeshift "light box" using a simple iPhone camera and some partly fancy phone software to turn the negatives into positives. Please keep all this in mind when you really start feeling the urge to throw in comments about weird shadows and stuff on the negatives. I know they are there in plenty, because the light board patent using the phone is not good enough for commercial work yet, and will of course never be. The "scans" are no good at all, and in particular the highlights lack a lot, but I couldn't get them any better with the very limited equipment we got on board. However it is really great to be able to produce results like this and have them posted on the internet from raw film about 250 nautical miles off shore.
Another thing to keep in mind is the fact that I primarily write this post just to give my mate over there in Northern Ireland a few good reasons why he would never need to buy one of these cameras :)
Enjoy!

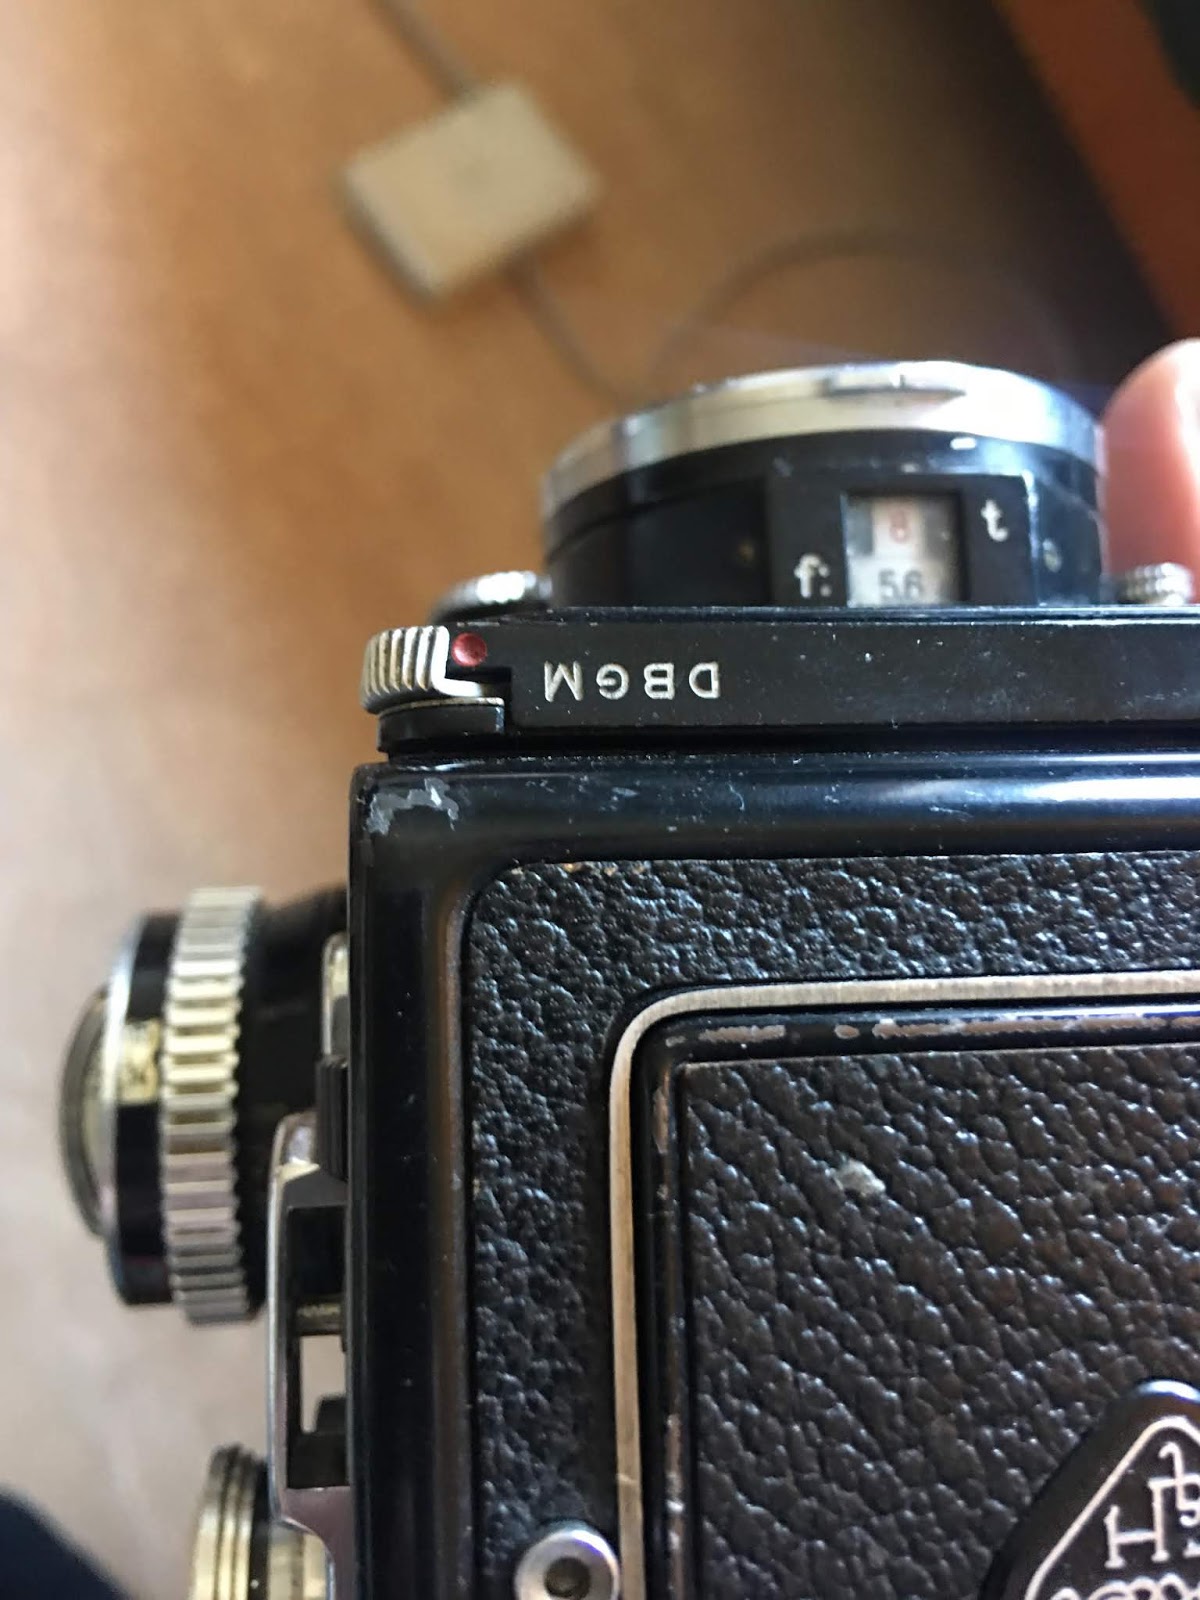
Here it is from the other side where they found room for the light meter and the focus adjustment.
I have owned my Rolleiflex for some years now, and quite a few films have been spooled through the thing since it came my way. It was already quite well used when I got it, but not what I would call worn. No dents or anything (believe it or not...) and the glass looked just as pristine back then as it is today. It came straight out from having been serviced and lubricated, so hopefully it will still work fine for a few years yet.
Records shows it was built around 1957, sporting a very nice Carl Zeiss 80mm f/2.8 Planar taking lens. The view lens also seems to have been given some sort of attention back in the days, as it's a f/2.8 80mm construction bearing the lovely name; Heidosmat.
A Syncro Compur shutter lives it's quiet life inside the taking lens, capable of controlling anything between 1 to 1/500 sec. shutter times in addition to the B setting.
The release button is logically placed at the front right of the camera, and it's possible to lock it if you like. I actually recommend to do just that if you're walking along with the shutter cranked.

Heading towards end of work for this day. Relaxing on the bridge wing in the heat of the sun.
As most people reading a blog like this would already know, you will get a small bunch of 6x6 cm negatives out of this camera, and you're supposed to load it with 120 size film. I know you can get a 135 kit for it as well, but I have never even been thinking about buying one to be honest. In these times when you obviously can build more or less anything if your got a 3D printer, you can of course also produce the needed bits to load your 135 roll inside the Rolleiflex should you so wish.
This machine means business, and you will probably notice the cameras presence even well before the very moment you pick it up, feeling the weight and balance of it, and not to speak of when you're having a real deep glance into it's front with the two lenses and the two wheels made for adjusting your aperture and shutter times. Still it's a pretty small, anonymous and stealthy camera even though it's a medium format device.
When opening the viewfinder cover you find the ground glass to be nice and bright and having a good view of the surroundings in front of the camera. The mechanism for the viewfinder cover is actually worth a study of it's own (said the engineer inside me), as it's not only extremely nice and tight and snappy in all it's joints, but mostly because of the genius way they made the loupe hide so nicely, and how unbelievably easy it is to flip it up for use. And then it's of course the horizontal part of the viewfinder which opens the back and front side of the whole chimney for you to see straight through it, and not to speak of the little hole with the horizontal loupe inside to check focus when operating the camera from this position. And if that's not enough, then to actually close the horizontal viewfinder when no longer needed... Well, there's no need for me to go on about this. You should actually just try it for yourselves to understand what I'm talking about.

Oh, and then you can of course hide some film inside the dark parts of this camera as well.
To do so you obviously need to open the back, which is done from the bottom of it. While you're turning the camera upside down anyway you may at the same time notice there's the standard threaded hole to put it on top of a pole with three feet and a screw, and there's also four tiny small bumps to make sure the camera will stay sort of securely on it's shelf when putting it to rest for the evening. The four tiny feet has been carefully made on a very small german lathe at some point in time, I think. But I'm not going to hover too much around that.

The bottom part of the camera looks like this. To open it up simply turn the disc in the direction of the arrow and pull lightly on the tab to release the lock.
To have it opened to put film inside you just need to swing the bit with the arrow in the direction of the arrow itself, and then pull the tab to unlock the safety hitch before you slowly pull it open. Easy as heck!
You can even remove the back cover by moving a little sliding tab a tiny tad, and off and away the backplate goes for easier access to the inner parts of the box.

Lift the tiny tab on the right side of the hinge to unlock the hinge itself. It will make loading of film a bit easier, but it is not much of a problem to load the film without using this trick.

There you go... easy access to whatever you may need to get done inside the camera.
Film loading is very simple, and can be done in two ways. The right way or the wrong way. You will of course choose the wrong way first (due to good old Murphy and all that...). A giveaway sign that the film has not been loaded correctly would be the film advancing crank will not stop at the first frame as it should, but rather go on and on until the entire film has been moved over to the take-up spool, which will of course call for the need to go inside the darkroom to re-spool it before you load the film the right way ever since.
To actually save you the hassle I'll show you right here and now how the film is to be thread. It's going under the first roller and over the others. See...? I told you it was easy, didn't I? Have a look below.

So, the trick is obviously to pass the film underneath that first roller.

When the film has been attached to the take-up spool it's just a matter of cranking a few turns until the starting point of it is aligned with the first aluminium bar, then shut the cover and crank further until it stops. Some say you can start with the arrow wherever... I don't know, because I have never tested it out. It actually suits me fine to stop right there.
Anyway, we're ready for the fun part and the real reason to have a camera like this available on your shelf. We're going to take a few snaps and see what they look like. They will look absolutely fabulous, I promise!
Before we get there I need to tell you there is a light meter built into this version of the Rolleiflex. I think it was the first model with a meter, but it's not exactly the most intuitive one out there. Just saying.
It works of course, because everything on a Rolleflex works, it just takes some effort getting used to.
There are two sensitivity settings for the light meter. One for the less and another one for the more lighter conditions. When to use the first or the latter will be given away automatically as the tiny black needle will peak out if there is too much light when the meter is in the "low light" setting. Simply whack the knob on upper left and you go to "light" conditions.
See that little slider up there at the left? That's the one to use if you need to change sensitivity on your light meter. When you see the red tab you need to read from the red scale down at the light meter. Red point means less light mode.

Red scale for low light readings, not in use for this example...

Light conditions scale (reading between 13 and 14 in this example) but we can see the red and grey needle is not perfectly matched yet, meaning the outer chrome ring needs to be adjusted a bit more to have them aligned.

Needles are aligned (OK, just sort of, but anyway), and we have a reading of something between 14 and 15 which should be good enough to get you in the area of a good exposure. Now the only thing you have to do is to have the numbers transfered to the shutter/aperture adjustments at the front of the camera.
When you got a good reading you need to transfer it so the tiny arrow at the front of the shutter time wheel is pointing at the number we just determined from the light meter reading. Then, if you like (and if you are not completely dizzy by now), you can interlock the shutter time wheel and the aperture wheel to be able to get perfect exposure no matter what combination of the two you like to use, but it has to be inside the limits of what's practical possible of course. You may also like not to bother doing this, as it is a bit restrictive for the next snap given the change of light and all other conditions of the area you may live.

Here we are! The arrow at the shutter time wheel is aligned with our number from the previous picture (between 14 and 15, but very hard to see in this picture) and we should have everything in place to get the exposure right. If you look over at the other side for the other thumb wheel (aperture adjustments) there's a strange symbol in the middle of the wheel. That's where the interlock between the shutter and aperture wheel is.
The light meter is a simple selenium cell thing. Mine still works absolutely fine even though as we know it's been sitting there for well over 60 years now.
You can also use a simpler light meter if you wish, or just go completely crazy and go for Sunny 16 or whatever version of the rule you prefer. You will of course get great pictures no matter method of metering you choose to use.

Inside the bridge. The Second Mate is sharing his watch with the First Mate having one hour in and the next one out of the DP (Dynamic Positioning) chair from where the vessel is controlled when we are in operation and working with the ROV's in the water.
I think I once wrote something like "there's always at least one annoying thing with every camera", and this also goes for my Rolleiflex. Or, I'm not too sure if it's me old eyes starting to fade a bit, but the fact is the split image in the center of the ground glass (at least on my version of it...) is so tiny i can't properly focus on it without using the loupe, or at least some very good reading glasses (which will never there when you need them anyway).
I will soon have to admit I'm getting to the age where some distance is needed to focus them things placed in the front end of my face, and when my arms are fully stretched the distance to the split screen is too far to see the focusing aids inside there at all. Anyway, the loupe is there to be used, and it's not needed for all shots to be honest. After all it's a very small issue, and nothing that is keeping me away from using the camera at all.

In addition to the Engine Cadet down in the dark parts of the vessel there's also one of the same sorts up there in the light. This is what he looks like. No boiler suit or anything up there, of course.
A number of good reasons (12 to be precise) to still use this old camera really comes to mind every time you have a roll of film from it developed.
The old Planar lens is quite punchy and contrasty for it's age, and have been producing great negatives on whatever film I have decided to put inside the camera through the years I have owned it. Starting to think about it I think I never have tried to feed a roll of any colour film through it though, but that may change quite soon as I got a few rolls of the sort on board the ship at the moment. I can just as well give it a go to check what it's like with some modern C-41 process film with colours.

And of course there have to be some company hiring the ship. This bloke is called Michael. He is a great guy by all measurable means, lives somewhere in the swamps of Louisiana and is representing the client on board. Eight seconds prior to having his portrait taken he had finished off something like 60 push ups with his feet one meter up on the ship railing. At least he could have tried to look like his pulse was a little bit higher than when at rest, but he didn't...
I don't know if a conclusion is needed or even wanted, but I'll go for it anyway.
The old machine has it's quirks and moments where you think that this is just old fashion and too bothersome to play around with in 2020. If you are in need of a coupled light meter and automatic exposure, or in fact a decent on-board light meter at all, maybe the Rolleiflex is a bit too far out and a bit too cumbersome to actually be of any great value to you.
On the other hand if you are a little bit experienced and usually will have no big issues in normal light conditions guessing exposure, or if you got a handy light meter to bring along for those situations when it's actually needed, then this type of camera might be just the right thing for you if you're looking for a handy medium format camera shooting squares.
The negatives coming out in the other end of this box is really great, and the size and form factor of the camera is truly a joy to play around with.
Another brilliant thing with the Rolleiflex is that the lens is securely attached to the camera, hence no money at all going down that extremely huge drain we all know too well.
I really recommend the Rolleiflex, I do. At least for anyone living a fair bit away from Northern Ireland and thereabouts not having a Hassy or something from before, as the resulting negs probably would be more or less similar.
After that great review, your mate in Northern Ireland is doomed to buy one.
SvarSlettIt's an interesting camera with lots of interesting dials and bits. I have to say that the dials reminded me of my nan's old stove. I guess the camera and that stove were from the same era.
My favourite photo is the one of the chief engineer reading in the chair.
Oh well, Marcus. Let's at least hope he's not buying it only because of this review :))
SlettHe might just as well get one, but I don't want to be responsible for having tricked the man into some sort of trouble or anything.
The guy in the chair is the chief officer... the boss on the bridge if you look away from the captain. The chief engineer is holding his Rolleiflex at the time the picture was taken :))
It was great fun though, just running around taking 12 pictures in such a short time. Two of them were very much over exposed though, due to a mistake I did when coming out from the inside of the ship. I had just adjusted my exposure to fit the light outside, but then I handed the camera over to another guy for two minutes. I was not aware he had been switching the shuttertimes a few stops, so that was a couple of failures for sure. Luckily I suddenly noticed.
Ah, the captain. Oops.
SlettWell... it doesn't matter much I guess.
SlettWe are all in the same ship anyway :))
Haha I've no idea who or what you are talking about, Roy!
SvarSlettGreat read, as always - and great snaps to go with it. I'm sure your work colleagues are wise to your ways by now and resigned to the fact that their image is likely to be captured on film at any time of the day or night by their Chief Engineer ;)
Now, if only these German things weren't well into 4 figures (£) then one would certainly be on my shelf (or even better, in my hands). I do like the square format, as you know. One day...
Oh yes, one day...! That's why I wrote this, you know. Just to prepare you a tiny bit of the times to come :))
SlettMy work mates are quite used to see the chief engineer hauling strange looking cameras around the place at all times, yes. They all seem to like this particular one, and we can't blame them can we?